The time it takes to lay laminate flooring depends on various factors. For a standard-sized room, the process typically spans several days. Room preparation, including clearing furniture and gathering materials, might take a few hours. Subfloor preparation to ensure a smooth surface can add a day or more. Acclimating the laminate to room conditions is recommended for around 48 hours.
The actual installation, considering factors like room size and complexity, ranges from several hours to a couple of days. Finally, adding finishing touches, such as molding and transitions, may take an additional day. DIYers might take longer due to the learning curve, while professionals often complete the task more efficiently.
What Are The Factors Influencing Installation Time?
The time it takes to install laminate flooring is influenced by several factors. The size and layout of the room, the condition of the subfloor, and the complexity of the chosen laminate style all play a role in determining the overall installation time, with larger rooms, uneven subfloors, and intricate patterns requiring more time and attention.
How room dimensions affect installation time

Surface Area: Larger rooms naturally require more time for installation compared to smaller ones. The square footage directly correlates with the amount of flooring material that needs to be laid.
Cutting and Fitting: Irregular room shapes or intricate layouts may demand additional time for precise cutting and fitting of laminate pieces, impacting the overall installation duration.
Seam Placement: Larger rooms may require strategic seam placement to maintain aesthetic appeal, adding intricacy to the installation process.
Impact of subfloor preparation on the overall timeline
Leveling and Smoothing: If the subfloor is uneven, the installer must spend additional time leveling and smoothing it to create an ideal surface for laminate installation. This process is crucial for preventing issues like squeaks and uneven flooring.
Repairing Damage: Addressing any damage or imperfections in the subfloor is essential. Repairing or replacing damaged sections can add time to the overall project but ensures a stable foundation for the laminate.
Different laminate styles and their installation complexities
Click-and-Lock vs. Glue-Down: The type of laminate flooring chosen can significantly impact installation time. Click-and-lock systems tend to be quicker for DIY projects, while glue-down options may require additional precision and drying time.
Underlayment Requirements: Some laminate styles necessitate the use of underlayment for added insulation or moisture protection. Installing underlayment properly adds an extra step to the process.
Pattern Matching: Intricate patterns or designs in the laminate can extend installation time as careful attention is needed to align and match the patterns seamlessly.
Transition Pieces: Installing transition pieces around doorways or between different flooring types can be time-consuming but is essential for a polished finish.
Step-by-Step Installation Process
Preparation
Room Clearance: Begin by removing furniture, rugs, and any obstacles in the installation area. A clear space ensures easier navigation for installers and prevents potential damage to belongings.
Material Gathering: Collect all necessary materials, including the laminate flooring planks, underlayment (if required), adhesive (for glue-down installations), spacers, tapping block, and a saw for cutting.
Subfloor Preparation
Inspection: Thoroughly inspect the subfloor for any imperfections, bumps, or uneven areas.
Address and correct these issues to create a stable base for the laminate.
Moisture Testing: Check for moisture in the subfloor, especially in areas prone to dampness. Installing a moisture barrier may be necessary to prevent damage to the laminate over time.
Acclimation
Time Requirement: Leave the laminate planks in the installation area for a specified acclimation period, allowing them to adjust to the room’s temperature and humidity levels.
Stacking Method: Stack the planks in a way that allows air circulation around each piece, promoting even acclimation and minimizing the risk of warping.
Installation
Starting Point: Determine the starting point of the installation, typically along the longest wall or in a prominent area. This decision impacts the overall aesthetic of the finished floor.
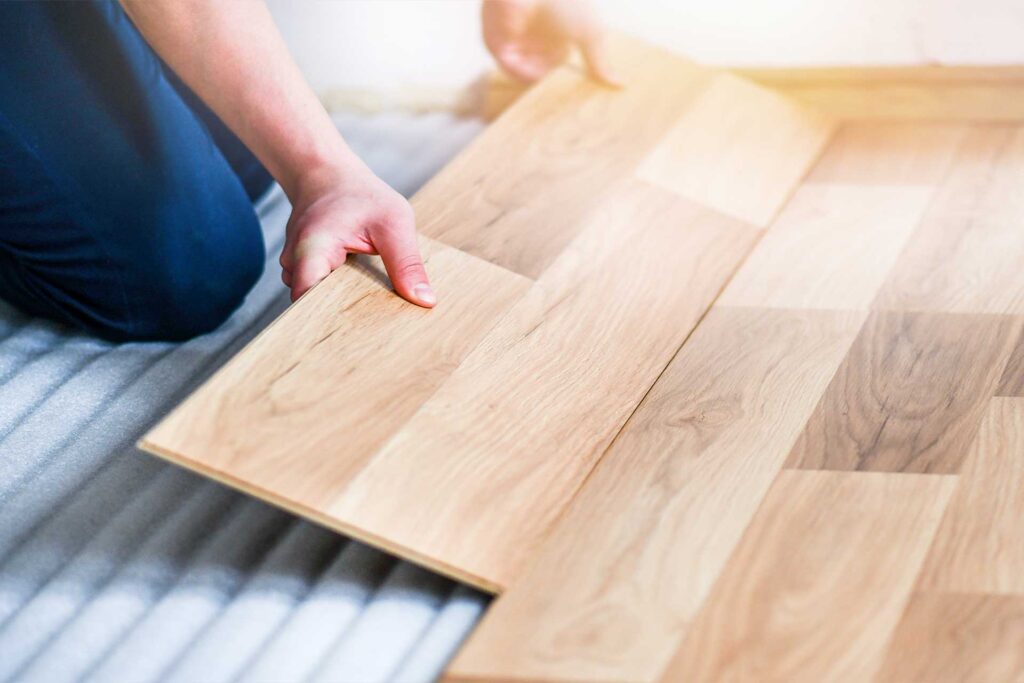
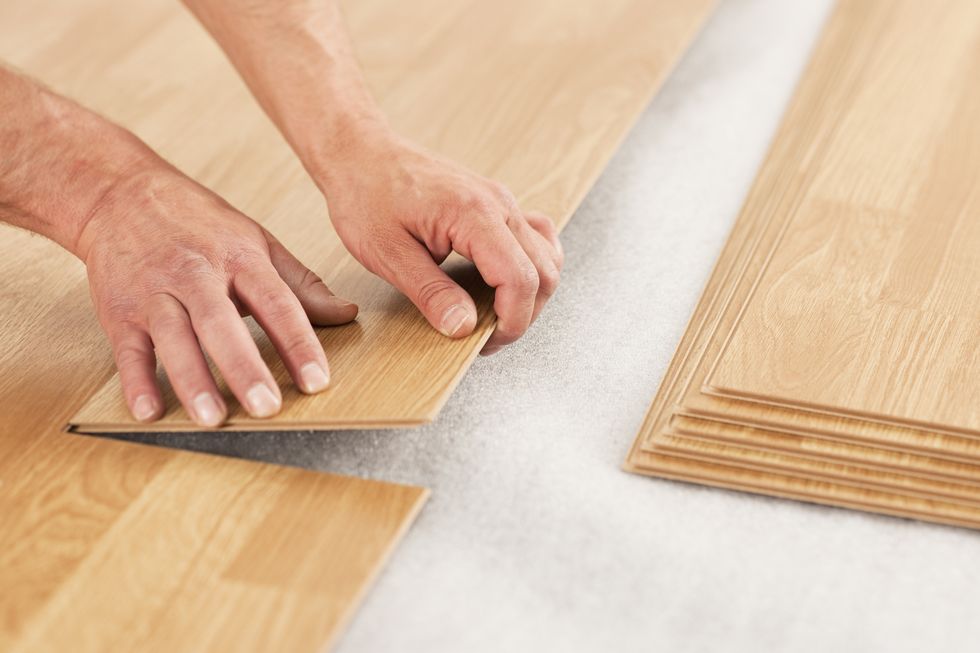
Interlocking Planks: Follow the manufacturer’s instructions for interlocking the planks. Use spacers along the edges to maintain the required expansion gap.
Cutting and Fitting: As the installation progresses, cut and fit the laminate pieces around obstacles, doorways, and other unique features using a saw and appropriate tools.
Finishing Touches
Transition Strips: Install transition strips between different flooring types or rooms for a seamless look.
Molding: Attach baseboards and quarter-round molding to cover expansion gaps and create a polished finish.
Checking and Cleaning: Inspect the entire installation for any gaps, uneven areas, or visible issues. Clean the floor to remove any installation residues.
What’s the Time Investment for Laminate Flooring Installation?

Room Preparation: Clearing the room and gathering materials typically takes a few hours, depending on the size of the space and the amount of furniture.
Subfloor Preparation: Ensuring a smooth and level surface can vary significantly based on the condition of the subfloor. This step may take a day or more, especially if extensive repairs or leveling are needed.
Acclimation: The recommended acclimation period for laminate flooring is usually around 48 hours. This allows the material to adapt to the room’s temperature and humidity.
Installation: The actual installation process can range from several hours to a couple of days, depending on the complexity of the layout, the type of laminate, and the installer’s experience.
Finishing Touches: Adding molding, transitions, and final details may take a day, considering the precision required for a polished appearance.
Realistic expectations for DIYers vs. professionals
DIYers: DIY installations often take longer due to the learning curve and the need for careful execution. While DIYers can successfully install laminate flooring, they should allocate extra time for each step and be prepared for potential challenges.
Professionals: Experienced flooring professionals can complete the entire process more efficiently. Their expertise allows for quicker problem-solving, precise installations, and a smoother workflow. Professionals may also have access to specialized tools that streamline the process.
FAQ
How long does it take to install 1000 sq ft of flooring?
The time to install 1000 sq ft of flooring depends on factors like room layout and installer experience. On average, it may take 2-3 days for a professional, while a DIYer might need more time.
Can you lay laminate the same day?
Yes, in many cases, laminate flooring can be laid on the same day. However, it’s crucial to follow proper preparation steps, including acclimating the flooring and ensuring a level subfloor.
Is laminate flooring easy to install?
Indeed, laminate flooring is known for its user-friendly installation. With its click-lock mechanism, many find it a DIY-friendly project. Clear instructions and basic tools make the process accessible.
How long does it take 1 person to install laminate flooring?
The time for one person to install laminate flooring varies based on factors like room size and experience. On average, it might take 8-12 hours for a 200-400 sq ft room.
Are laminate floors waterproof?
While laminate floors are water-resistant to a certain extent, they are not entirely waterproof. It’s essential to clean spills promptly and avoid prolonged exposure to moisture.
How long does laminate floor last?
Laminate flooring typically lasts 15-25 years, depending on quality and maintenance. Regular cleaning and avoiding excessive moisture contribute to its longevity.
Can I mop laminate flooring?
Yes, you can mop laminate flooring, but use a damp, not wet, mop. Excess water can damage the planks. Choose a laminate floor cleaner for optimal results.
Is laminate slippery when wet?
Laminate flooring can be slippery when wet. It’s advisable to wipe spills promptly and place rugs in high-traffic areas to enhance safety, especially in bathrooms and kitchens.
Final thoughts
On the whole, the time it takes to lay laminate flooring varies based on different factors. From room preparation to the finishing touches, each step plays a role in determining the overall duration. Whether you’re a DIY enthusiast or hiring a professional, understanding these timeframes is key for planning a successful project.
Remember, patience during acclimation, careful installation, and attention to detail in finishing touches contribute to a beautiful and durable laminate floor.

